
Tutorials · October 31, 2026
How to Use AI Image Generation Inpainting
Learn how teachers can use AI image generation inpainting to fix small details in classroom visuals without regenerating the entire picture from scratch.
If you create visual materials for your classroom, you have likely run into a frustrating problem. You generate an image that is almost perfect, but one detail is wrong. Maybe a diagram has an extra label, or a historical scene includes an object that does not belong. When you ask the tool to fix that single element, it regenerates the entire picture and ruins everything else. The solution is a technique called AI image generation inpainting. Instead of asking a chatbot to redraw the whole scene, you use an editing interface to mask the exact area you want to change and provide a prompt only for that region. This tutorial shows teachers how to perform this task using established tools.
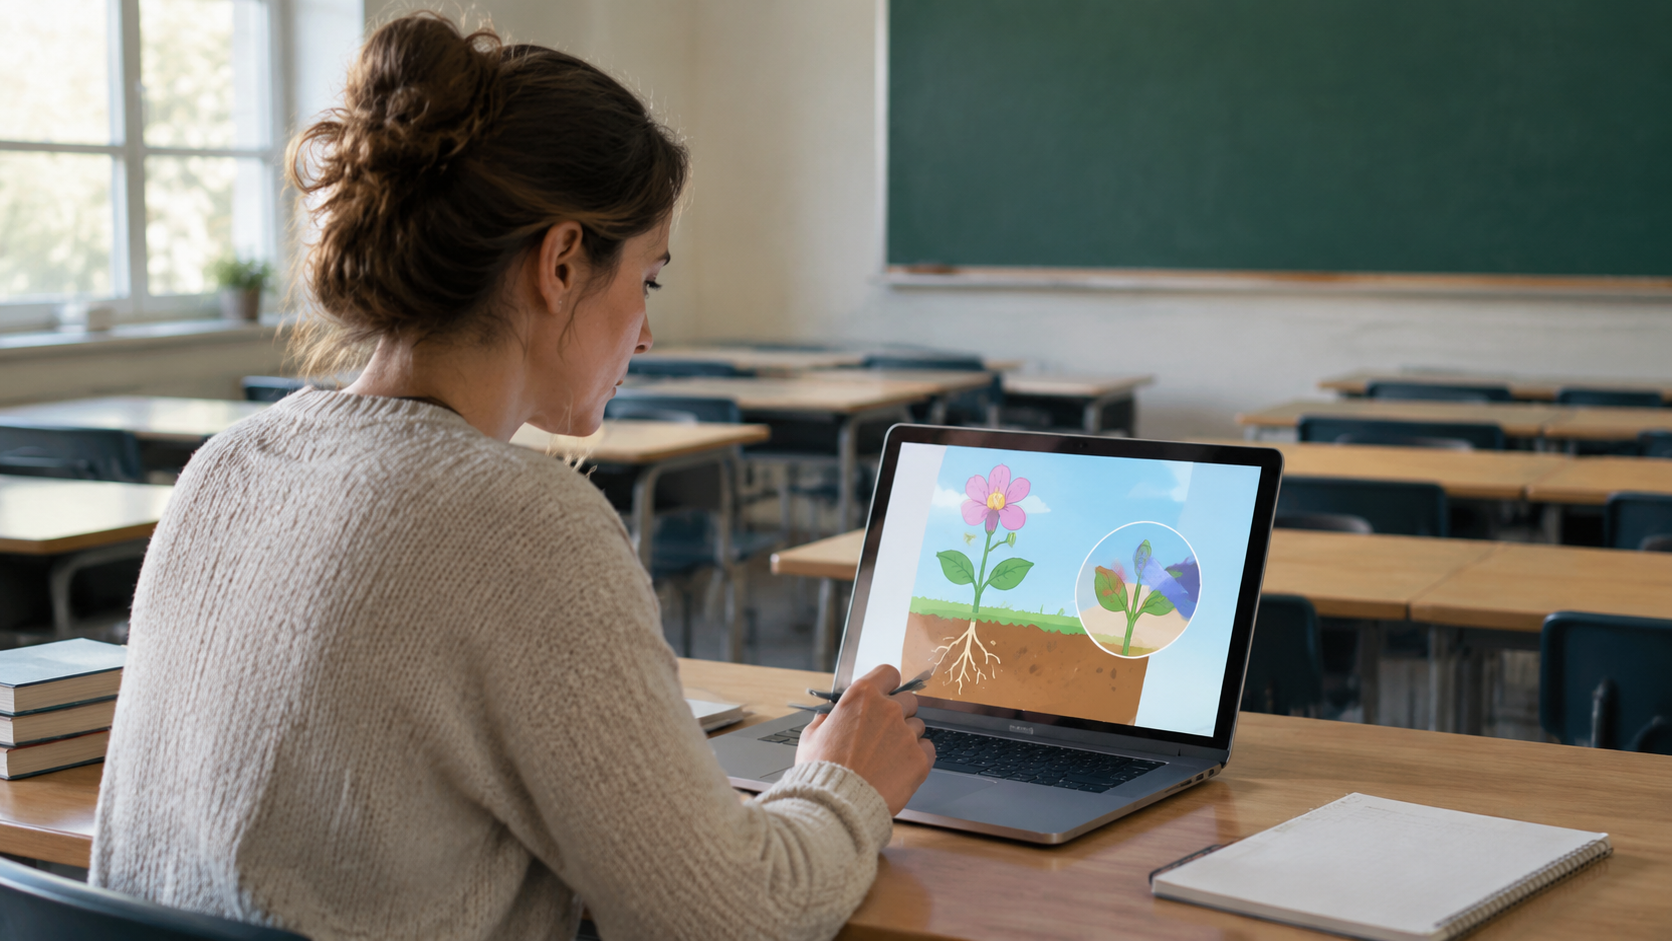
What you need
Before you begin, gather the following items:
- An existing base image. This is the nearly perfect picture you already generated or photographed for your lesson. Do not start from scratch; the goal is to preserve what already works.
- An editor with a brush or selection tool. According to Adobe Express documentation, you need an interface that provides a brush tool allowing you to select a specific area of an existing image. This selected area becomes the "mask."
- A text prompt describing the replacement. You need a short, clear description of exactly what should appear inside the masked area.
- Access to an inpainting-capable platform. You can use a visual editor like Adobe Express, which features a Generative Fill tool, or an API-based service like Stability AI. The Stability AI documentation explains that their inpainting endpoint requires you to submit an original image alongside a mask and a text prompt so the system alters only the masked region.
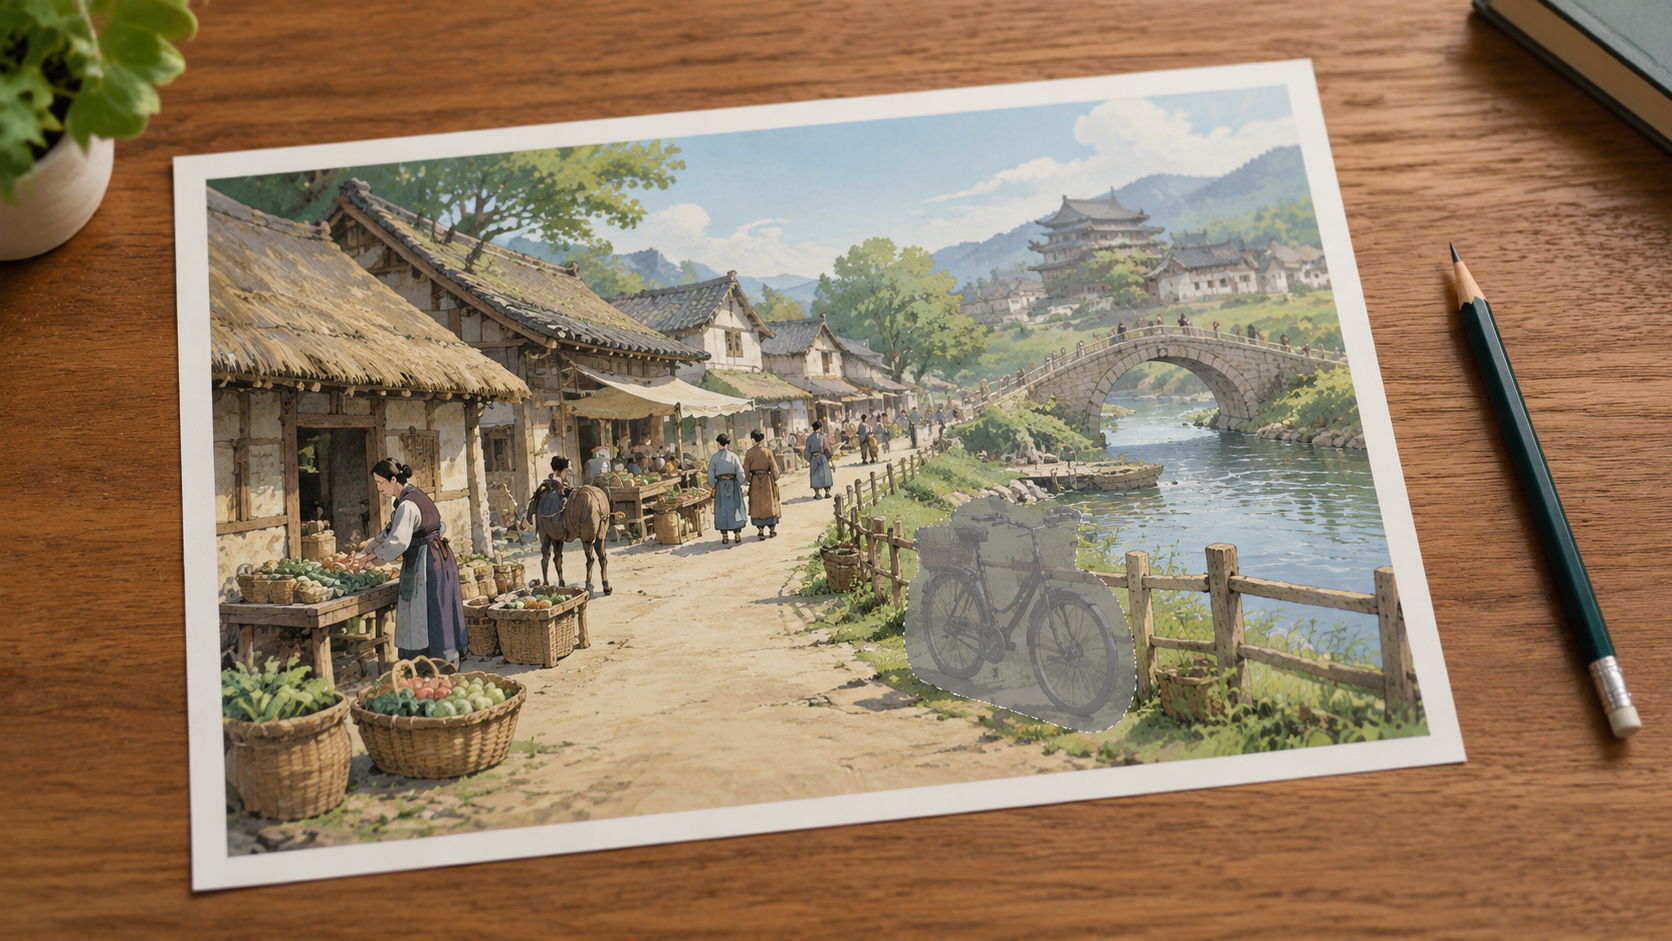
How to do AI image generation inpainting
The core workflow for AI image generation inpainting involves isolating the mistake, defining the boundary, and generating only the missing piece. Follow these steps based on official tool documentation:
- Open your base image in the editor. Upload the nearly perfect classroom visual into your chosen platform. Ensure the entire image is visible before you begin making selections.
- Select the area to change using a brush tool. As outlined in the Adobe Express Generative Fill guide, use the provided brush to paint over the specific part of the image you want to alter. This painted area acts as your mask. Be precise—only cover the elements that need fixing.
- Enter a text prompt for the desired change. Type a concise description of what you want to generate inside that specific boundary, as documented by Adobe Express. If you are unsure where to enter this prompt in your specific tool's interface, check the official help documentation for that platform. Focus entirely on the masked region.
- Generate the edit. Submit your prompt. The system will process the request by altering only the masked region while preserving the rest of the image, as detailed in the Stability AI API reference.
- Review and refine. Check the result. For guidance on adjusting settings if the edit needs refinement, check the official help documentation for your chosen platform.
- Export the final image. Once the edit looks seamless, download the updated file for use in your presentation, worksheet, or digital whiteboard.
If you are building automated pipelines for a school district rather than editing manually, the Stability AI documentation notes that you can programmatically submit the original image, the mask, and the text prompt via their API to achieve the same localized result at scale.
Worked Example: Fixing a Science Diagram
Imagine you generated a diagram of the water cycle for a fourth-grade science lesson. The image is excellent, but the AI accidentally placed the word "Precipitation" next to the evaporation arrow. You cannot use this on a test because it will confuse students.
Instead of asking the generator to "fix the labels," which would redraw the entire diagram, you open the image in your editor. You use the brush tool to paint over the incorrect word and the arrow tip. In the text prompt box, you type: "a blue upward-pointing arrow labeled Evaporation." You then generate the edit. The system replaces only the masked text and arrow tip, preserving the rest of the image. You now have an accurate visual ready for your slide deck.